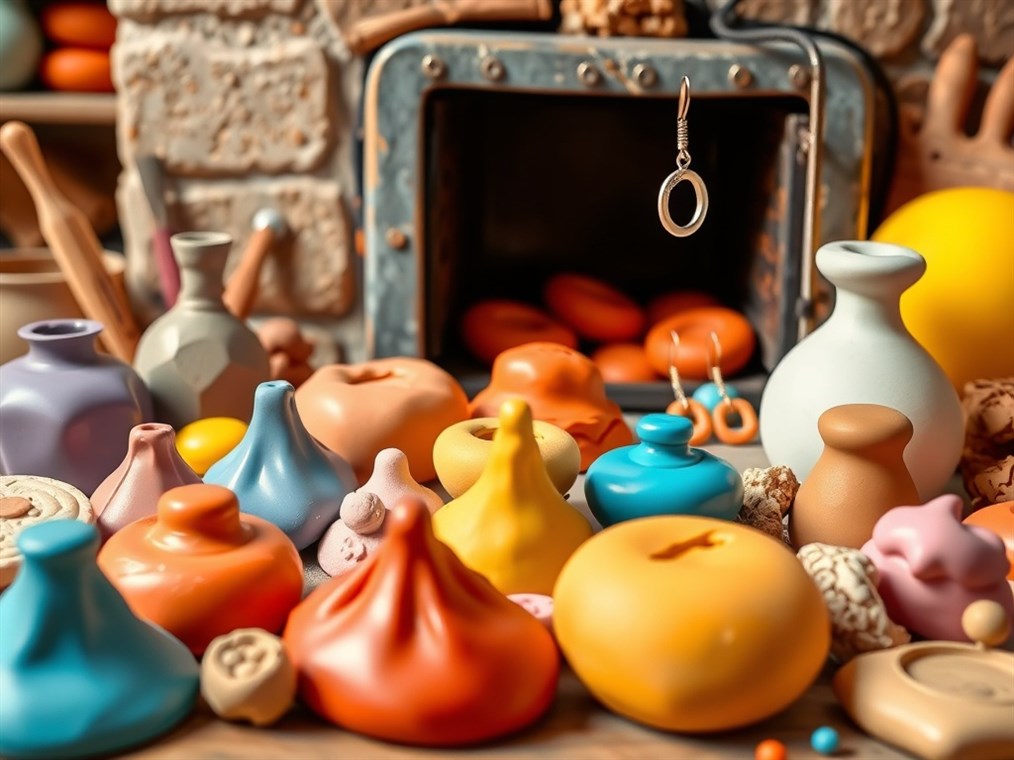
So, You Wanna Bake Clay in Your Oven, Huh? Let’s Get Real.
Okay, let’s talk clay. You’ve got this vision, right? A cool sculpture, maybe some funky earrings… and you’re thinking, “Hey, can I just chuck this in my oven?” Well, hold your horses! Not all clay is created equal, especially when it comes to surviving a bake in your kitchen oven. Mess this up, and you could end up with a crumbly disaster – or worse.
The good news is, there is a type of clay that’s practically made for your oven: polymer clay. Seriously, this stuff is the MVP of home crafters. Think of it as the play-dough of the adult world, but way more sophisticated.
Polymer Clay: Why It’s Your Best Bet
So, what makes polymer clay so special? A few things, actually:
- Crazy Versatile: Jewelry, tiny food (yes, that’s a thing), decorations… you name it, polymer clay can probably do it. I’ve even seen people make custom phone cases with it!
- Colors Galore: Forget boring beige. We’re talking every color under the sun, plus metallics, glow-in-the-dark, even stuff that looks like stone.
- Tough Stuff: Once you bake it, this clay is surprisingly strong. Water? No problem. Lasting for years? Absolutely.
- Easy Peasy: It’s super easy to mold, shape, and add details. You don’t need to be a pro sculptor to get good results. Trust me, if I can do it, anyone can.
- No Shrinkage Drama: Unlike some clays that shrink and crack as they dry, polymer clay stays true to size. What you see is what you get!
Brand Names You’ll Hear Thrown Around:
- Sculpey: This is like the Kleenex of polymer clay. They’ve got a ton of different types for different projects.
- Fimo: If you’re serious about color mixing, Fimo’s “Professional” line is the way to go. They use pure colors that make mixing a breeze.
- Cernit: Doll makers, take note! Cernit is a favorite for creating realistic-looking skin tones.
- Kato Polyclay: Another great option for color mixing, especially if you’re picky about getting the exact shade you want.
Baking 101: Don’t Blow Up Your Kitchen (Please!)
Okay, so you’ve got your clay. Now what? Here’s the lowdown on baking it safely:
- Preheat Like a Pro: This is crucial. Set your oven to the temp on the package. Usually, it’s around 275°F (135°C). Get an oven thermometer! Ovens lie. Seriously, they do.
- Time to Bake: Generally, you’ll bake for 15-30 minutes for every 1/4 inch of thickness. Got a chunky piece? Give it some extra time.
- Protect That Clay: Use a baking sheet, glass pan, or even a special silicone mat. You can also tent it with foil to prevent browning.
- Air It Out: Crack a window, turn on the vent fan… you know the drill. Burning clay isn’t toxic, but it can release fumes that’ll make you cough.
- Patience, Young Padawan: Let it cool completely before you start handling it. It’ll harden up as it cools.
- Clean Up Crew: Once the oven is cool, give it a wipe down. Just in case.
Pro Tips for Baking Bliss:
- Don’t Be a Cheapskate: Underbaking is a recipe for disaster. Your clay will be weak and break easily.
- Easy Does It: Overbaking can make your clay dark, brittle, and cracked. Not a good look.
- Test, Test, Test: Bake a little scrap piece first to see how your oven behaves.
- Bake It Again, Sam: You can bake polymer clay multiple times! This is super handy for complex projects.
Clay No-Nos: What Not to Put in Your Oven
Alright, listen up! While polymer clay is oven-friendly, other clays are a big NO.
- Air-Dry Clay: This stuff hardens on its own. Baking it will just make it crack. Trust me, I’ve tried.
- Earthen/Ceramic Clays: These need a kiln, which gets WAY hotter than your oven. We’re talking thousands of degrees.
- Plasticine: This is the clay that never hardens. Think Play-Doh. It’s for modeling, not baking.
Air-Dry vs. Polymer: A Quick Cheat Sheet
FeatureAir-Dry ClayPolymer ClayHardening MethodAir (duh!)OvenDurabilityKinda fragilePretty toughShrinkageYep, it shrinksNope, stays the sameColoringPaint it laterMix colors in!CostBudget-friendlyA bit pricierUsesSchool projects, simple craftsJewelry, sculptures, fancy stuff

