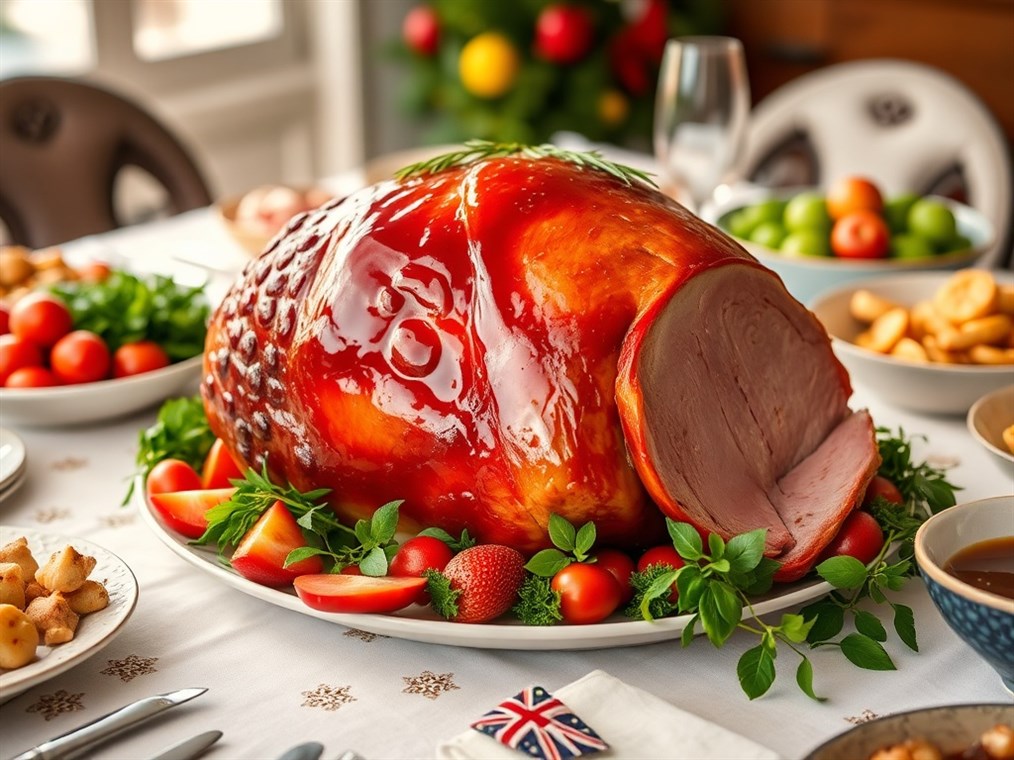
Say Goodbye to Dry Ham: Your Guide to Juicy Perfection
Let’s face it, ham can be a bit of a gamble. You envision that beautiful centerpiece, but too often, it ends up dry and disappointing. But fear not! Whether it’s for a holiday feast or just a regular weeknight dinner, keeping your ham moist is totally achievable. This isn’t rocket science, just a few tricks of the trade to guarantee a succulent, flavorful experience.
First things first, you gotta know your ham. Not all hams are created equal, and how you treat them depends on what you’re starting with.
- Fresh Ham: Think of this as the “raw” deal. It’s basically a pork leg that hasn’t been cured, so it’s got a pale pink color. You absolutely have to cook this thoroughly – aim for an internal temp of at least 145°F.
- Pre-cooked Ham: This is the most common type, and honestly, the most convenient. The catch? They’re super prone to drying out if you’re not careful. All you really need to do is reheat them, but doing it right is key.
- Dry-Cured Ham: These are the fancy ones, cured with salt and air for months. Think prosciutto or Serrano. You can actually eat these without cooking!
Okay, so how do we keep things juicy? Here are the golden rules:
- Foil is Your Friend: Seriously, don’t underestimate the power of foil. Wrapping your ham in foil is like giving it a personal steam room. It traps all those lovely juices and stops them from escaping. Some folks like a loose wrap, others go for a tighter seal – experiment and see what works for you. You can even tent the whole pan.
- A Little Liquid Love: Adding some liquid to the pan is another winner. Wine, broth, juice, even just plain water will do the trick. It creates steam that bathes the ham and keeps it happy. Just don’t drown it – a thin layer is all you need.
- Temperature is King: Overcooking is public enemy number one when it comes to dry ham. Get yourself a meat thermometer and use it! For a pre-cooked ham, you’re aiming for about 140°F internally. Uncooked? 145°F is your magic number.
- Glaze Like a Pro: A good glaze is like the icing on the cake (or, well, the glaze on the ham!). It adds flavor and helps seal in moisture. But be patient! Adding it too early will just lead to a burnt mess. Wait until the last 45 minutes or so, and brush it on every 15 minutes for a beautiful finish.
- Rest and Relax: Once the ham’s cooked, let it chill out for 20-30 minutes before carving. Cover it loosely with foil – this lets the juices redistribute, making it extra tender and delicious. Trust me, it’s worth the wait.
Let’s break down the cooking methods a bit more:
- Oven Roasting: Preheat your oven to 325°F (160°C). Pop the ham on a roasting rack in a pan, add your liquid, and cover it with foil. Bake for roughly 15-18 minutes per pound (but always double-check the package instructions!). Uncover it for the last 45 minutes to glaze. Probe thermometer is your best friend here.
- Slow Cooking: Okay, this isn’t as common, but it can work!
- Boiling: Boiling the ham coaxes the sodium from the meat while returning moisture at the same time.
A few extra tips to keep in mind:
- Bone-In is Better (Usually): Bone-in hams tend to be juicier and more flavorful.
- Score Big: Scoring the ham in a diamond pattern not only looks fancy but also helps the glaze penetrate deeper.
- Bag It Up: An oven bag can be even better than foil for trapping moisture and speeding up cooking.
- Baste Away: Don’t be shy about basting the ham with pan juices or glaze while it cooks.
- Take a Bath: Soaking the ham in water for a bit before cooking can help it heat more evenly.
And finally, what about leftovers?
- Fridge Rules: Wrap leftover ham tightly in plastic wrap or pop it in an airtight container. For ham on the bone, a damp tea towel or ham bag is your best bet – just re-wet it every few days. Sliced ham likes a little paper towel to soak up extra moisture. Properly stored, your ham should last about a week in the fridge.
- Freezer Fun: Ham freezes well! Slice it up, wrap it tight in foil, and then bag it. Whole hams can hang out in the freezer for up to three months, sliced ham is best used within a month. Thaw it in the fridge for at least 48 hours.
- Things to Avoid: Don’t let your ham dry out by exposing it to air. Leave the fat on when storing, and definitely don’t refreeze thawed ham.
So there you have it! With these tips and tricks, you’ll be serving up juicy, delicious ham every time. Happy cooking!

