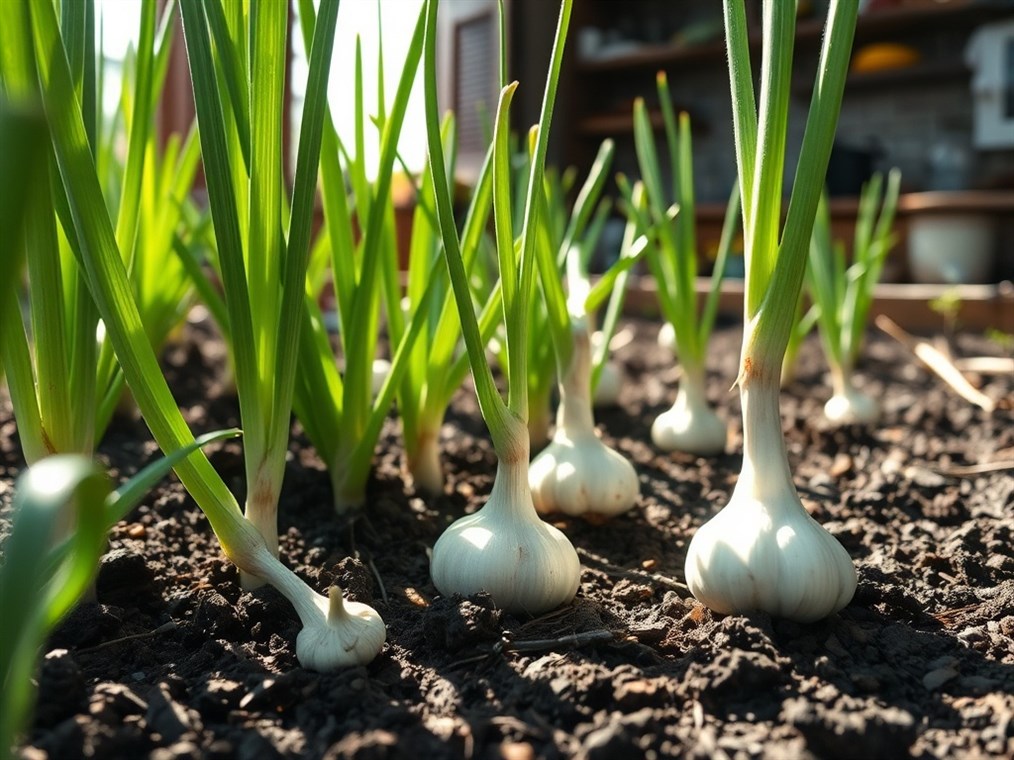
Growing Garlic in Zone 5: From My Garden to Your Table
Garlic. Just the word conjures up images of fragrant Italian kitchens and warding off vampires, right? But did you know growing your own garlic, even in a chilly place like Zone 5, is totally doable? It’s true! And trust me, there’s nothing quite like the taste of homegrown garlic.
Now, Zone 5. That basically means we’re dealing with some pretty nippy winters, where temperatures can dip down to a bone-chilling -20°F. So, picking the right garlic is key.
Think of it like this: you wouldn’t wear a swimsuit in a snowstorm, would you? Same goes for garlic. We need the tough guys, the ones built for the cold. That’s where hardneck varieties come in. These are your rockstars of the garlic world, producing a stiff stalk – called a scape – and packing a flavor punch that’ll knock your socks off.
Some of my personal favorites for Zone 5? Music is a classic, always reliable. German Extra Hardy lives up to its name. Rocambole has a wonderful, intense flavor. Chesnok Red, Romanian Red, Spanish Roja, and Georgian Crystal are also great options. Seriously, you can’t go wrong with any of these.
Now, softneck garlic is more common in warmer areas, but don’t count them out completely. With a little extra TLC – think a good, thick blanket of mulch – you can sometimes get away with growing varieties like Inchelium Red or Silver White. These guys don’t produce a scape, and they tend to store a bit longer, plus they’re perfect for braiding into those fancy garlic ropes you see at farmers’ markets.
Okay, so you’ve got your garlic picked out. Next up: getting the soil ready. Imagine your garlic bulbs are little VIPs. They need a comfy, nutrient-rich bed to thrive. We’re talking fertile, well-drained soil with a pH hovering around 6.0 and 7.0.
First things first, get your soil tested. You can grab a kit from your local garden center, or even better, contact your county extension office. They’ll give you the lowdown on what your soil is missing.
Then, it’s time to get your hands dirty! Load up that soil with organic matter – compost, aged manure, peat moss, you name it. This stuff is like a multivitamin for your soil, improving drainage, adding nutrients, and creating a nice, loose texture.
Before planting, I like to mix in a balanced fertilizer, something a little heavy on the nitrogen. Think of it as giving your garlic a little boost to get started. Just be careful to avoid fresh manure or anything with too much urea or potassium chloride – those can actually harm the bulbs.
If you’re dealing with heavy clay soil, consider raised beds. Trust me, your garlic will thank you. It helps keep the bulbs warm and dry during those long winter months.
Alright, let’s get these cloves in the ground! The sweet spot for planting in Zone 5 is usually mid-to-late October, before the ground turns into a solid block of ice. You want to give those cloves about a month or so to develop some roots before winter really hits.
When you’re ready to plant, choose the biggest, healthiest cloves from your bulbs. Remember, big cloves equal bigger bulbs later on!
Space them out about 4 to 8 inches apart in rows, with the rows themselves about 6 to 12 inches apart. Plant each clove about 2 inches deep, pointy end up, root side down. And for extra protection against the cold, don’t be afraid to plant them a little deeper.
Now, tuck them in with a thick layer of mulch. Straw, hay, leaves – anything that will act like a cozy blanket to protect them from the winter chill, keep the weeds down, and hold in moisture.
Once spring rolls around, your garlic will start to wake up. Now, it’s our turn to give it some love.
Water regularly, especially when the bulbs are forming. Aim for about an inch of water a week, but be careful not to drown them. And keep those weeds at bay! Garlic doesn’t like to compete for nutrients.
If you’re growing hardneck varieties, you’ll notice a stalk curling out from the plant. That’s the scape. Snap it off as soon as it starts to uncoil. This forces the plant to put all its energy into growing bigger bulbs. And hey, don’t throw those scapes away! They’re delicious sautéed, grilled, or made into pesto.
In late winter or early spring, give your garlic another feeding with some compost or a balanced fertilizer.
The moment we’ve all been waiting for: harvest time! This usually happens in late June or July, when the lower leaves start to turn yellow and brown.
Carefully loosen the soil around the bulbs with a garden fork or shovel, and gently pull them out. Try not to damage them!
Now, for the final step: curing. This is crucial for long-term storage. Lay the bulbs out in a dry, shady spot with good air circulation for a few weeks. Don’t wash them!
Once they’re cured, trim the roots and tops, brush off any dirt, and store them in a cool, dark, dry place. If you do it right, your homegrown garlic will last for months!
Now, let’s talk about potential problems. Luckily, garlic is pretty resilient, but there are a few things to watch out for. White rot, Fusarium basal plate rot, bulb mites, leek moths, and nematodes can all cause trouble. Crop rotation, keeping things clean, and using healthy seed garlic are your best defenses.
Growing garlic in Zone 5 might seem a little intimidating at first, but trust me, it’s worth it. There’s nothing quite like the satisfaction of harvesting your own garlic and using it to create delicious meals. So, get out there, get your hands dirty, and get growing! You’ll be amazed at what you can accomplish.

