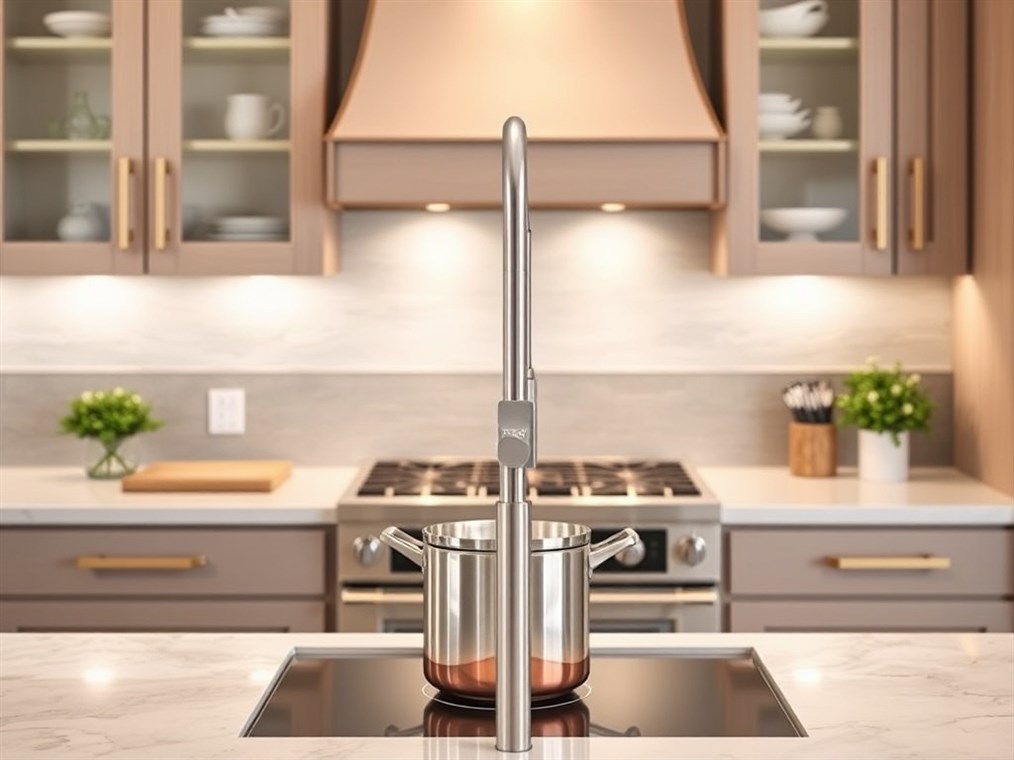
Where Should a Pot Filler Really Go? A Home Cook’s Guide
Okay, let’s talk pot fillers. These handy faucets perched above your stovetop have made the leap from fancy restaurant kitchens to everyday home cooking havens. The big selling point? No more lugging those enormous, water-filled pots from the sink to the stove – a back-saver, for sure, and a spill-preventer to boot! But here’s the thing: slapping one up without a second thought is a recipe for disaster. To really get the most out of your pot filler, both in terms of convenience and looks, you’ve got to nail the placement. So, let’s dive into the nitty-gritty of finding that sweet spot.
Height Above the Stove: Finding the Goldilocks Zone
Height is everything. Too low, and you’re asking for trouble. Too high, and you might as well be filling pots from the ceiling! Most pros agree: aim for somewhere between 16 and 24 inches above the stove’s surface. I’ve seen recommendations as specific as 20-24 inches above the burners themselves. Think of it this way: you want enough room to comfortably slip your tallest stockpot underneath (those bad boys are usually around 10-12 inches), but you don’t want to be doing chin-ups to reach the faucet.
Why this range? Well, it’s all about striking a balance. You need easy access, without playing a game of “Operation” over a hot stove. You also need enough space for those extra-large pots without water going everywhere. And, let’s be honest, you don’t want scorching heat or a clumsy pot denting your shiny new fixture.
Here’s a pro tip: grab your tallest pot, measure it, and add a few inches for wiggle room – maybe 3-4 inches. That’s your magic number! Now, if you only haul out that monster pot once a year for Thanksgiving, maybe cheat a little lower to better suit your everyday cookware.
Centered or Off-Center? That is the Question.
Now, let’s talk about horizontal placement – should you center it, or nudge it to one side? This is where personal preference and kitchen realities collide.
A centered pot filler creates a nice, symmetrical look. If you’ve got one of those fancy multi-jointed models with a super-long reach, centering is often the way to go. But… (there’s always a “but,” isn’t there?)… sometimes, practicality wins.
If you’re constantly boiling water on a specific burner (say, the front right one), offsetting the pot filler to that side can be a game-changer. Plus, it keeps you from reaching over those scorching-hot surfaces. Trust me, your forearms will thank you.
So, eyeball your kitchen, consider your cooking habits, and decide which setup makes the most sense for you.
The Big Picture: Other Stuff That Matters
Okay, we’ve covered the basics, but there’s more to the story. Here’s a rapid-fire rundown of other things to keep in mind:
- Kitchen Flow: Don’t put the pot filler where it’ll turn into an obstacle course. Think about how you move around the kitchen.
- Your Height: Are you tall, short, or somewhere in between? Make sure you can comfortably reach the faucet without straining. A good rule of thumb is 36-42 inches from the floor.
- Cooktop Quirks: Is your cooktop flush with the counter, raised, or recessed? This can affect the height you need.
- Kitchen Style: The pot filler should complement your kitchen, not clash with it. Think about finishes and designs that match your overall vibe.
- Clearance is Key: Make sure you have enough space around the pot filler for your range hood, cabinets, and backsplash. You’ll want at least 15 inches above the counter to fit those taller pots.
- Reach for the Stars (or at Least the Burners): Can the faucet actually reach all your burners, especially the big one? Spout reach typically ranges from 12 to 20 inches.
- Safety First: It should be easy and safe to use while you’re juggling hot pots and pans. I’d recommend it being within 12-18 inches of the cooktop’s edge.
Installation: Call in the Pros
Let’s be real: installing a pot filler is not a DIY project for the faint of heart.
You’re talking about running a dedicated water line, which often means wrestling with pipes, adding valves, and praying your water pressure is up to snuff. You’ll also need to make sure your wall can handle the weight of the faucet and a spout full of water. And for goodness’ sake, get a pot filler with a shut-off valve – you’ll thank me later if a leak ever springs up.
Oh, and don’t forget to check your local building codes and permits. Seriously, folks, unless you’re a seasoned plumber, hire a pro. It’s worth the investment to avoid a watery disaster.
Deck-Mounted Pot Fillers: The Easier Option?
If the thought of tearing into your wall makes you break out in a cold sweat, consider a deck-mounted pot filler. These mount directly onto your countertop, making installation a whole lot simpler.
Pot Fillers: Are They Really Worth It?
Okay, let’s be honest. Pot fillers are cool, but are they essential? Some people swear by them, others think they’re a bit… extra.
Here’s my take:
- The Good: Super convenient, saves your back, adds a touch of luxury.
- The Not-So-Good: Limited use, requires extra plumbing, can be a pain to clean around.
The Bottom Line
Finding the perfect spot for your pot filler is a balancing act. It’s about blending practicality, comfort, and aesthetics to create a kitchen that’s both functional and beautiful. Take your time, do your homework, and you’ll end up with a pot filler that you’ll actually love using. Happy cooking!

