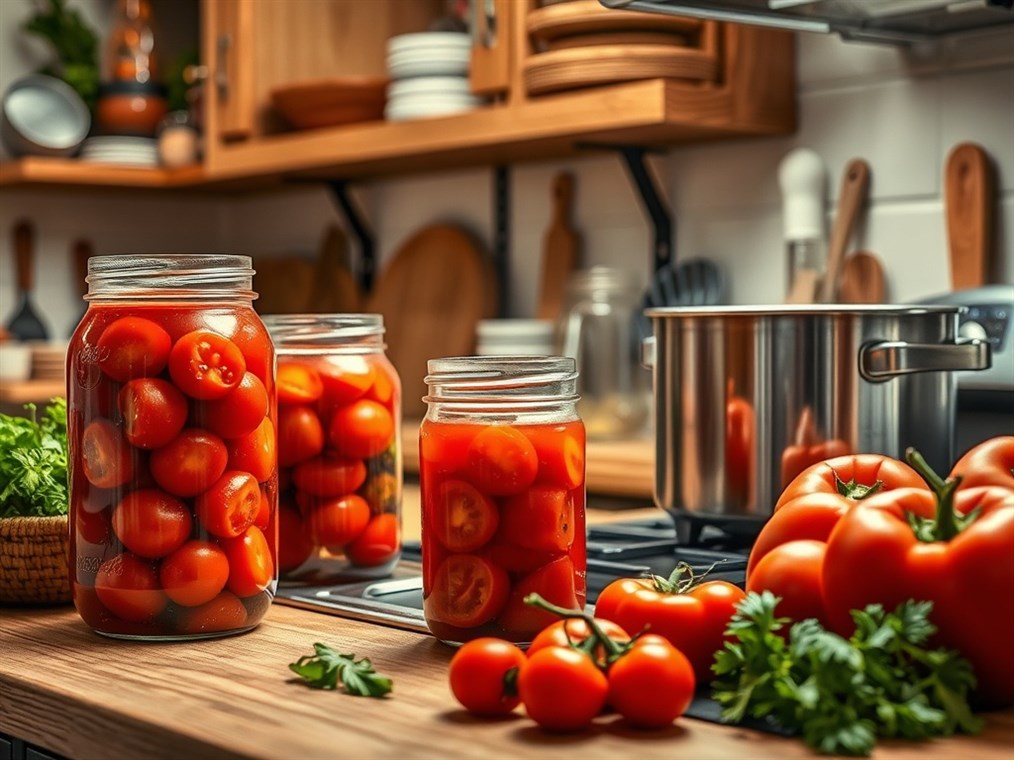
How Long Do You Really Need to Boil When Canning? Let’s Get Real About Home Food Preservation
Okay, let’s talk canning. It’s seriously satisfying to pull a jar of summer’s tomatoes off the shelf in the dead of winter, isn’t it? But let’s be honest, it can also feel a little intimidating. We’re talking about food safety here, and nobody wants to mess that up. One of the biggest questions? How long do you really need to boil those jars? Well, grab a cup of coffee, and let’s break it down.
First things first, you’ve probably heard about two main ways to can: boiling water bath and pressure canning. Think of it this way: if it’s super acidic – like your grandma’s famous pickles or a batch of bright strawberry jam – you can usually get away with the boiling water bath. Basically, you dunk the jars in boiling water for a set amount of time, and that heat kills off any bad guys trying to spoil your food.
But for anything not acidic enough – think green beans, carrots, or that hearty beef stew – you absolutely need a pressure canner. This is where things get serious. A pressure canner creates a super-hot, high-pressure environment that’s the only way to destroy those nasty Clostridium botulinum spores. Trust me, botulism is not something you want to play around with.
So, how long are we talking for boiling water bath canning? Honestly, it depends. And that’s the frustrating part, right? It’s not a one-size-fits-all kind of deal. The type of food is a big one. Obviously, your great aunt’s pickled beets aren’t going to be processed the same way as a batch of peach preserves. Always, always check a tested recipe from a reliable source. I’m talking the USDA Complete Guide to Home Canning – it’s like the canning bible. Or check with your local extension office; those folks are canning pros.
Jar size matters too. Makes sense, right? A bigger jar takes longer to heat all the way through. And here’s a sneaky one: altitude. If you live up in the mountains like I do, water boils at a lower temperature. So, you’ve gotta add extra time to make sure those jars are properly processed. A good rule of thumb is to add 5 minutes for every 1,000 to 3,000 feet above sea level. Bump that up to 10 minutes between 3,001 and 6,000 feet, and a full 15 minutes if you’re living above 6,000 feet. So, if that apple jelly recipe calls for 10 minutes at sea level, and you’re at, say, 2,500 feet, you’re looking at 15 minutes in the boiling water bath.
Now, pressure canning… that’s a whole other ball game. Again, the food dictates the time and pressure. No winging it here, folks! And altitude plays a role, too. With dial-gauge pressure canners, you’ll need to increase the pressure as you go up in elevation. Weighted-gauge canners are a bit simpler; usually, you just crank it up to 15 PSI if you’re above 1,000 feet.
A few extra things to keep in mind, no matter which method you’re using: Headspace is key. Leave the right amount of space at the top of the jar, as the recipe says. It’s there for a reason! Make sure your jars are clean and in good shape – no chips or cracks. And use new lids every time. Trust me on this one; it’s not worth risking a bad seal to save a few cents.
Once your jars are processed, let them cool completely on their own. Don’t mess with them! After they’re cool, check those seals. The lid should be pulled down tight and not flex when you press on it. If you’ve got a jar that didn’t seal, pop it in the fridge and use it within a few days, or reprocess it with a fresh lid.
Look, canning might seem like a lot, but it’s so worth it. Just remember to use tested recipes, follow the instructions to the letter, and don’t be afraid to ask for help. There are tons of resources out there, so tap into them! And most importantly, have fun with it! There’s nothing quite like sharing a jar of your homemade goodness with friends and family. Happy canning!

