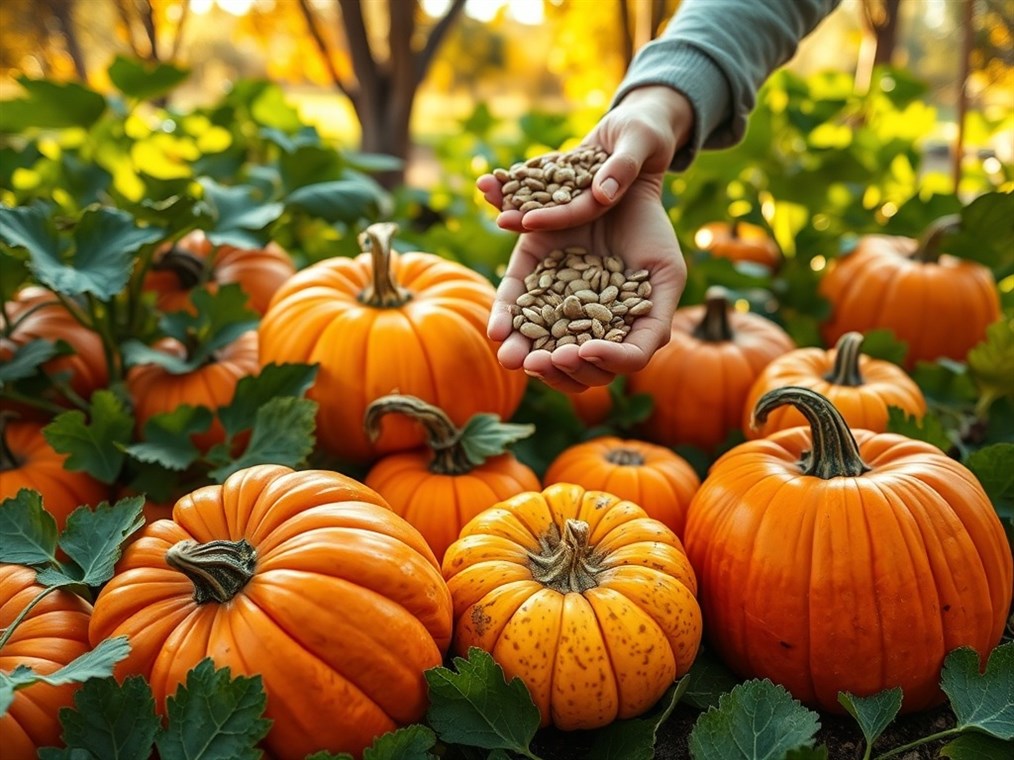
Saving Pumpkin Seeds: From Gourd to Garden, a Gardener’s Guide
Okay, so you’ve got pumpkins! Maybe you’re carving jack-o’-lanterns, baking pies, or just enjoying their autumnal beauty. But wait! Don’t toss those seeds! Saving pumpkin seeds is a fantastic way to keep your favorite varieties going, year after year. Plus, there’s something deeply satisfying about nurturing a plant from seed to… well, another pumpkin! Let’s dive into how to do it right, so you can have a bumper crop next season.
First things first: which pumpkin are we talking about? If you’re after true-to-type pumpkins, heirloom varieties are your best bet. Seeds from hybrid pumpkins might give you something… unexpected. Think of it like this: heirloom seeds are like taking a cutting from your favorite plant, while hybrid seeds are more like a genetic lottery. If you’re not sure, a quick chat with your local farmer can clear things up. And remember, patience is key! Let those pumpkins ripen fully on the vine before you even think about seed saving.
Alright, time to get our hands dirty! Whether you’re planning to roast the seeds or plant them, the harvesting process is the same. Grab a big spoon, carefully cut open your pumpkin, and scoop out the gooey mess inside. Don’t wait too long, though – you want to get to those seeds before the pumpkin starts to, shall we say, decompose. Next, it’s time to separate the seeds from the stringy pulp. This is where your fingers come in handy. Once you’ve got a decent pile of seeds, give them a good rinse under cool water. Get rid of all that clinging pulp – trust me, it’ll make things easier later. Don’t let them soak, though!
Now, a little seed selection. Not all seeds are created equal, and a quick check now can save you heartache later. Pick out the big, plump fellas – those are the ones with the best chance of sprouting. Anything shriveled, cracked, or just plain sad-looking? Toss it. Some folks swear by the “float test”: drop your seeds in a bowl of water, stir, and see what sinks and what floats. The sinkers are your winners!
Drying is where the magic happens. This is crucial for keeping those seeds viable. Grab a baking sheet and line it with wax paper – it’s less sticky that way. Spread your seeds out in a single layer, making sure they aren’t touching. Now, find a cool, dark, and dry spot with good airflow. A week is good, but a few weeks is even better. The goal is completely dry seeds. I’m talking papery-feeling, white on all sides dry. A dehydrator on a low setting (around 115-120°F) can speed things up, but keep a close eye on them.
Once your seeds are bone-dry, it’s time to pack them away for their winter nap. Paper envelopes, small glass jars, even airtight containers will do the trick. Just ditch the plastic bags – they can trap moisture and lead to mold. Don’t forget to label everything! Date, variety – the works. Future you will thank you. Now, stash those seeds in a cool, dry, and dark place. Think refrigerator or a cool cupboard. Remember, pumpkin seeds start thinking about germinating at 60°F, so keep them somewhere that stays below that. A good rule of thumb? If you add the temperature in Fahrenheit to the relative humidity percentage, it should be less than 100. Some people even keep their seed envelopes in an airtight container in the fridge for extra protection!
Pumpkin seeds can hang in there for four years or more if you treat them right. But let’s be real, their germination rate will drop over time. Want to know if your seeds are still up for the challenge? Do a germination test! Pop a few seeds between damp paper towels in a zip-lock bag, and keep it warm. After a few days, check for sprouts. This will give you a good idea of how many seeds to sow when planting time rolls around. For the best results, aim to use those seeds within three months if they’re at room temperature, or six months if they’ve been chilling in the fridge.
One last thing: fermentation. Some gardeners swear by fermenting their pumpkin seeds before drying. The idea is to get rid of any lingering pulp, that slimy coating, and any nasty soil-borne diseases. Just toss the seeds in a jar, cover them with water, and let them sit for a few days, stirring occasionally. The good seeds will sink, the bad stuff will float. Rinse the sinkers, and you’re good to go!
So there you have it! Saving pumpkin seeds isn’t rocket science, but a little know-how can go a long way. With these tips, you’ll be well on your way to homegrown pumpkins for years to come. Happy gardening!

