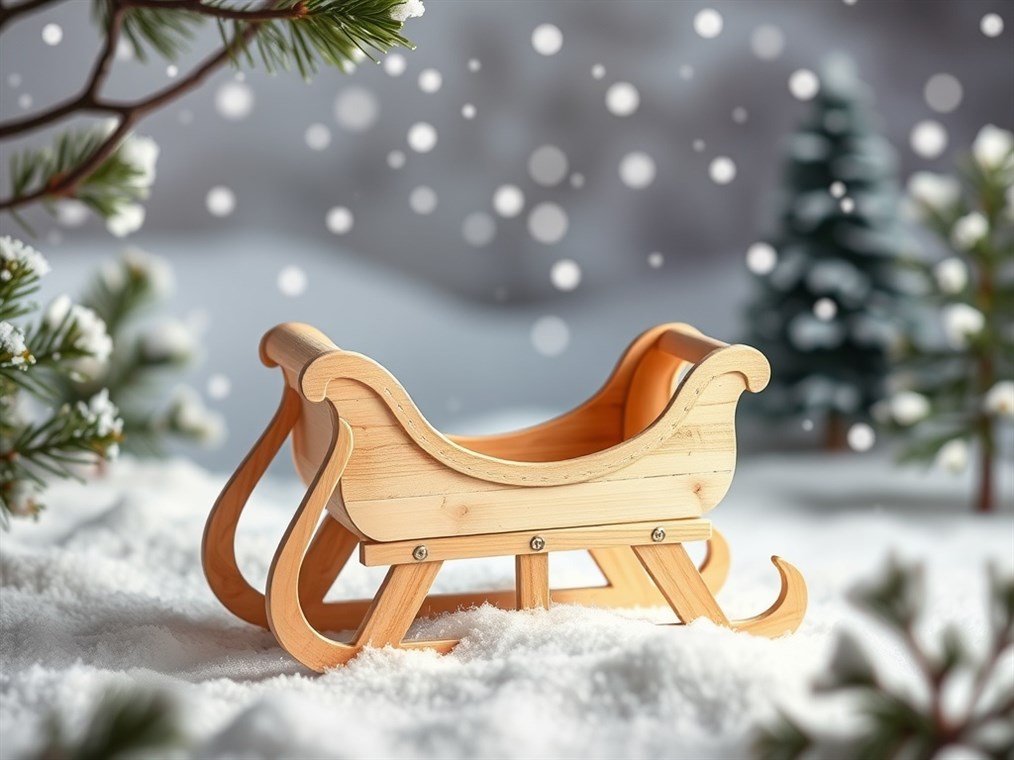
Crafting a Classic: Building a Popsicle Stick Sleigh – It’s Easier Than You Think!
You know those popsicle sticks you usually toss after enjoying a frozen treat? Turns out, they’re little goldmines for crafting! Forget boring projects; we’re talking about building a charming sleigh, the kind that makes you smile just looking at it. Whether you want a cute Christmas ornament or a cool centerpiece for your winter village, a popsicle stick sleigh is surprisingly doable. Trust me, I’ve made a few! This guide will walk you through it, whether you’re a crafting newbie or have glue-gun experience.
First Things First: Gathering Your Gear
Before we dive in, let’s round up what you’ll need. The number of popsicle sticks depends on how big and fancy you want your sleigh, but it’s always better to have extras. Here’s the basic list:
- Popsicle Sticks: The regular size is perfect, but jumbo ones or even coffee stirrers can add some flair.
- Glue: This is where the magic happens! Hot glue is super fast, great if you’re impatient like me. But wood glue or a strong white glue (like Elmer’s) will give you a tougher sleigh, even if it takes longer to dry. Tacky glue is another solid choice.
- Cutting Power: Scissors or a craft knife (like an X-Acto) for shaping the sticks. If you’ve got kids helping, make sure an adult is in charge of the sharp stuff.
- Measure Twice, Cut Once: A ruler or measuring tape helps keep things straight.
- Smooth It Out: Fine-grit sandpaper for getting rid of any rough edges.
- Make It Sparkle: Paints (acrylics work great), markers, glitter, twine, tiny bells, fake greenery – whatever makes you happy!
- Cheat Sheet (Optional): A template can be a lifesaver, especially if you’re going for a complicated design.
Dream It, Design It: What Kind of Sleigh Are We Building?
What I love about popsicle stick crafts is that you can totally make them your own. So, before you start gluing like crazy, think about these things:
- Size Matters: How big do you want this thing? A tiny ornament? A medium decoration? A full-blown model?
- Style Points: Rustic and simple? Or fancy with curved runners and details?
- Purpose: Just for show? Or will it hold little candies or trinkets?
- Keep It Real: Pick a design that matches your skills. Start simple, then get wilder as you get better.
Let’s Get Building: Sleigh Construction 101
Okay, time to get our hands dirty! There are a bunch of ways to build a popsicle stick sleigh, but here’s a tried-and-true method:
- Building the Base:
- Line up a bunch of popsicle sticks side-by-side. This is the floor of your sleigh. How many sticks you use decides how wide it’ll be.
- Want a slightly curved base? Put the middle stick a little higher than the ones on the sides.
- Glue those sticks together! A thin, even layer of glue along the edges does the trick.
- For extra strength, glue more popsicle sticks across the base, underneath. These are like floor joists.
- Runners Up!
- The runners are the curved bits that let the sleigh slide. Here’s how to make them:
- Curve It: Carefully cut popsicle sticks into a curve. Sand those edges smooth!
- Layer Cake: Glue thin strips of popsicle sticks together, one on top of the other, to make a curve. This gives you a stronger, smoother shape.
- Glue the runners to the bottom of the sleigh. Make sure they line up!
- The runners are the curved bits that let the sleigh slide. Here’s how to make them:
- Support System:
- Cut popsicle sticks to make the front and back supports. Cutting them at an angle makes it look pro.
- Glue these supports to the base and the runners. Now you’re starting to see a sleigh!
- Beef It Up:
- Add more popsicle sticks to make the whole thing stronger. Triangles are your friend here – they add a lot of stiffness.
- Finishing Touches:
- Once the glue is totally dry, sand any rough spots.
- Paint it! Acrylic paints are your best bet.
- Go wild with glitter, bells, twine, greenery… whatever you love!
- A coat of Mod Podge seals the paint and protects your masterpiece.
Glue Talk: Choosing Your Weapon
The glue you pick makes a big difference in how strong and pretty your sleigh turns out. Here’s the lowdown:
- Hot Glue: Fast, but not super strong, and sometimes leaves ugly glue globs.
- Wood Glue: Super strong, especially for wood-to-wood. But you need clamps and patience while it dries.
- White Glue (Elmer’s): Easy to use, dries clear. Good for general crafting, but not the strongest.
- Tacky Glue: A good all-around glue that dries quickly and holds pieces in place while drying.
- Super Glue: Instant bond, but can be brittle and messy. Be careful!
Pro Tips for Sleigh Builders
- Plan Ahead: Sketch your design and measure everything before you glue.
- Practice Run: Put the pieces together without glue first to make sure they fit.
- Clamp It Down: Clothespins or clamps hold things together while the glue dries.
- Less Is More (Glue): Too much glue is messy and can weaken the joint.
- Sand Smart: Sanding makes everything look smoother and preps it for paint.
- Get Your Sparkle On: Make it yours with unique details!
- Protect Your Zone: Use newspaper or a craft mat to catch glue drips.
- Safety First: Kids need supervision when using sharp tools or hot glue.
The Wrap-Up: Your Own Winter Wonderland
Building a popsicle stick sleigh is a blast! It’s a chance to get creative, be patient, and turn something simple into something special. Whether you make a tiny ornament or a big, fancy model, you’ll feel awesome when you’re done. So grab those sticks, unleash your inner artist, and start building!

