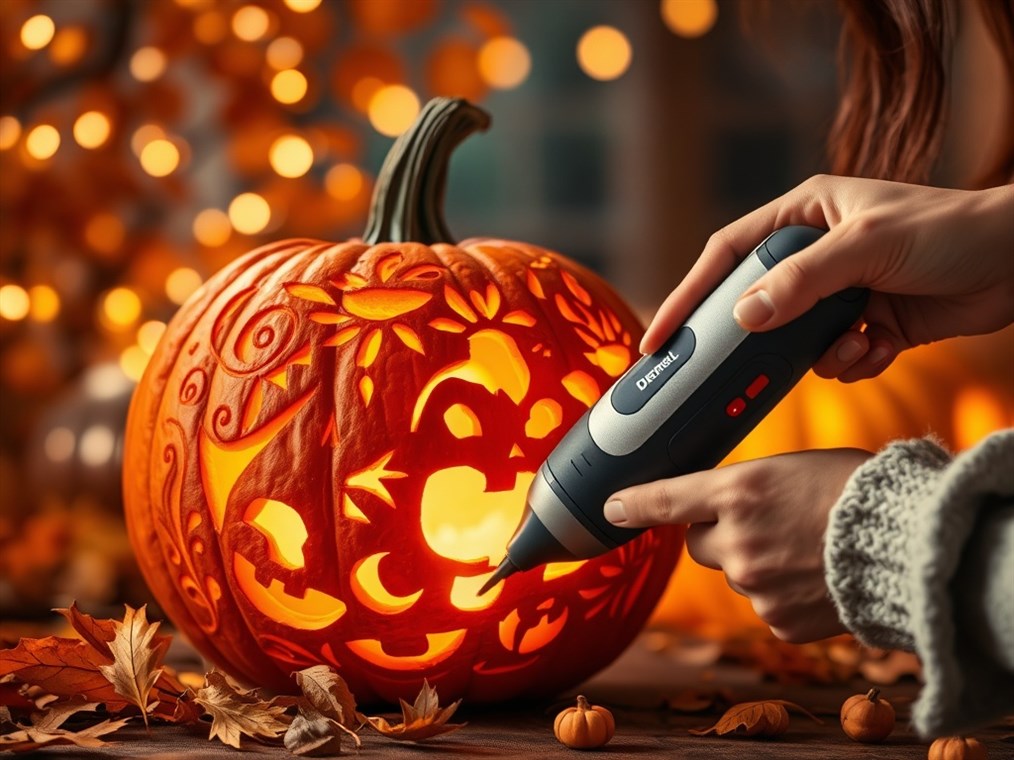
Dremel Your Way to Pumpkin Perfection: A Human’s Guide to Power Carving
Halloween’s creeping closer, and you know what that means: it’s jack-o’-lantern time! Sure, you could stick with the old knife-and-scoop routine. But let’s be honest, sometimes you want to kick things up a notch. Enter the Dremel, that trusty rotary tool sitting in your garage, just begging for a new project. So, can you actually use it to carve a pumpkin? Absolutely! But there’s a bit more to it than just plugging it in and going wild.
Why Dremel? Think Precision and Power (Without the Struggle)
Forget wrestling with dull knives. A Dremel gives you pinpoint control, letting you create designs that would make Michelangelo jealous. Seriously, you can get incredibly detailed. Plus, with all those cool attachments, you’re not just carving; you’re etching, smoothing, and basically turning your pumpkin into a work of art. And the best part? It’s fast. You can power through even complicated patterns in no time, leaving you more time for, you know, Halloween candy. Unlike knives that go straight through, Dremels let you play with depth, creating awesome shading and textured effects. It’s like sculpting with light!
Gear Up: Choosing Your Dremel Arsenal
Okay, so you’re sold on the Dremel idea. Now, let’s talk tools. Picking the right Dremel and its little helpers is key to pumpkin-carving success.
- The Dremel Itself: A cordless Dremel is your best friend here. Think freedom of movement! Some Dremel kits are designed specifically for pumpkin carving. Keep an eye out for those!
- Engraving Bits: These are your detail artists. Use them to trace outlines and create those super-fine lines. The Dremel #191 is a crowd favorite.
- High-Speed Cutters: Want that eerie, glowing effect? These are your go-to guys for removing bigger chunks of pumpkin. Many swear by the Dremel #194.
- Sanding Bands: Say goodbye to jagged edges! These smooth things out for a professional finish. Grab an EZ Drum Mandrel to make life easier.
- The “Everything Else” Bits: Don’t underestimate the power of a good variety pack. Dremel 106, Dremel 111, Dremel 561, Dremel 562, and Dremel 84922 can all come in handy.
Dremel Pumpkin Carving 101: A Step-by-Step Guide
Alright, time to get down to business! Here’s how to transform that ordinary pumpkin into a Dremel-powered masterpiece:
- Prep Your Canvas: Gut that pumpkin like you mean it! Get rid of all the seeds and stringy stuff. Pro Tip: Thinning the pumpkin walls makes carving way easier. Trust me on this one.
- Design Time: Stencil, freehand, whatever floats your boat. Get your design onto the pumpkin. Poke holes along the lines with a skewer, or use a washable marker to trace it. Coloring in the areas you don’t want to carve can save you from accidentally Dremeling the wrong spot. Vinyl stencils are also a great option.
- Outline the Magic: Grab your engraving bit and carefully trace your design. Light pressure is key here. You don’t want to go all the way through on this step.
- Let There Be Light (and Cutting): Switch to a high-speed cutter and start removing the bigger sections that you want to glow. Use a smooth, back-and-forth motion for a clean cut.
- Details, Details: Now for the fun part! Use those smaller engraving bits to add all the fancy details and textures that will make your pumpkin stand out.
- Smooth Operator: Grab a sanding band and smooth out any rough edges. A polished pumpkin is a happy pumpkin.
- Clean Up Crew: Wipe away all the pumpkin guts and admire your creation! For extra glow, scrape away some of the flesh from behind your design.
Pro Tips: Level Up Your Dremel Game
- Safety Glasses Are Your Friends: Seriously, wear them. Pumpkin shrapnel to the eye is not a good look.
- Speed Demon (But Controlled): Crank up the speed for cutting, but dial it back for detail work.
- Practice Makes Pumpkin Perfect: Don’t go straight for your best pumpkin. Do a test run on a cheapie or a small area first.
- Keep It Clean: Wipe away pumpkin debris regularly so you can actually see what you’re doing.
- Light It Up: Ditch the candles and go for LED lights. They’re brighter, last longer, and won’t set your pumpkin on fire.
- Stencils Are Your Secret Weapon: Don’t be afraid to use stencils, especially for complex designs.
The Not-So-Good Stuff: Dremel Drawbacks
Okay, Dremels are awesome, but let’s be real, there are a few downsides:
- It Gets Messy: Prepare for pumpkin puree to fly everywhere. Carve outside or cover your workspace.
- There’s a Learning Curve: It takes a little practice to get the hang of the Dremel. Don’t get discouraged if your first attempt isn’t perfect.
- Cost: Dremels and accessories can be pricey. But hey, think of it as an investment in future Halloweens!
Dremel Alternatives: You’ve Got Options
If a Dremel isn’t your thing, no worries! There are other ways to get your carve on:
- Good Old-Fashioned Carving Kits: Can’t go wrong with the classics.
- Linoleum Cutters: Great for those super-fine lines.
- Wood Carving Tools: Perfect for shaving down large areas.
- X-ACTO Knives: Ideal for extra-fine detail and texturing.
The Final Verdict: Dremel or Not to Dremel?
Using a Dremel to carve pumpkins is a fantastic way to add precision and creativity to your Halloween decorations. It might take a little practice and a bit of cash, but the results are totally worth it. So grab your Dremel, unleash your inner artist, and get ready to carve a jack-o’-lantern that will be the envy of the entire neighborhood! Happy carving!

