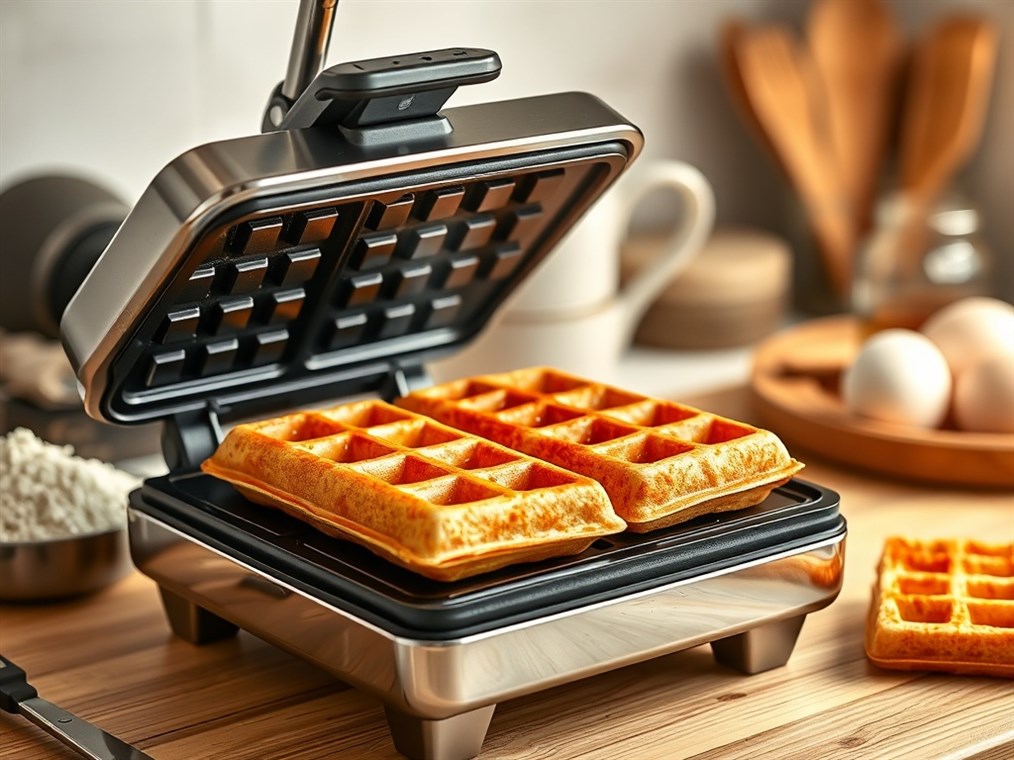
Mastering the Flip: Your Guide to Waffle Perfection
Okay, let’s talk waffles. Crispy on the outside, fluffy on the inside – who can resist? And when it comes to making truly great waffles at home, a flip waffle maker is your secret weapon. Forget unevenly cooked disappointments; these gadgets are designed to deliver restaurant-quality results, right in your kitchen.
So, what makes a flip waffle maker so special? Unlike your standard waffle iron, these rotate 180 degrees as they cook. This simple flip ensures the batter spreads evenly, giving you that perfect golden-brown finish and consistent texture we all crave. Trust me, it makes a world of difference.
Ready to dive in? First things first: prep your space. You’ll want a clear countertop for the waffle maker, your batter, and a plate to stack those beauties as they come off the iron. Oh, and definitely dig out the instruction manual – every waffle maker is a little different, and you’ll want to know the specifics of your model.
Now, safety first, folks. Make sure that waffle maker is sitting pretty on a heat-resistant surface. Give it a little breathing room, too – a few inches of clear space all around is a good idea. Plug it in, turn it on, and let it preheat. Most have a little light that’ll tell you when it’s ready to rock. This usually takes about 5-8 minutes, so now’s a good time to grab your ingredients.
Speaking of ingredients, let’s talk batter. You want it smooth, but not too smooth. A few lumps are fine, but it should be noticeably thicker than pancake batter. And here’s a little secret: fresh batter is always best. It just makes for fluffier waffles, plain and simple.
Choosing a recipe is key, too. If you’re aiming for those light-as-air Belgian waffles, look for recipes that use baking soda or even whipped egg whites. These give you that signature airy texture.
Now, about that non-stick surface… Most waffle makers claim to be non-stick, but a little insurance never hurts. A quick spritz of cooking spray can save you from waffle wreckage. But here’s a pro tip: ditch the aerosol cans. Some say they can leave a sticky residue over time. Instead, grab a non-aerosol spray bottle or just brush on a little oil.
Alright, the light’s on, the batter’s ready – let’s do this! Pour the batter onto the center of the bottom grid. How much? Well, that depends on your waffle maker. Start with about 1/4 to 3/4 cup, and use a spatula to gently spread it out. Don’t go overboard – nobody likes a waffle volcano!
Close the lid and immediately flip that waffle maker. That’s the magic right there. Now, patience. Most waffles take about 4-6 minutes to cook. Keep an eye on the indicator light, or just watch for the steam to stop. That’s your cue that it’s probably done. Whatever you do, resist the urge to peek too soon! Opening it up early can lead to a torn waffle tragedy.
Once the time’s up, flip it back, carefully open the lid, and behold your golden creation! Use a non-metallic spatula or tongs to gently lift it out. Metal utensils can scratch that non-stick coating, and we don’t want that.
Making a whole stack? Keep those beauties warm in a low oven (around 200°F) to keep them crispy.
Now, let’s troubleshoot a few common waffle woes:
- Uneven cooking? Make sure your waffle maker is sitting level and that you’re spreading the batter evenly. If one side always cooks faster, you might have a heating element issue.
- Waffles sticking? More cooking spray, or a batter with a bit more fat (butter or oil) can help.
- Waffle maker not heating? Check the power cord, and if that’s okay, it could be a thermal fuse problem. These are designed to prevent overheating, but sometimes they need replacing.
- Waffles not crispy enough? Make sure your waffle maker is good and hot before you start. You can also add a tablespoon or two of cornstarch to your batter for extra crispness.
Okay, waffles are devoured, time for cleanup. Always unplug the waffle maker and let it cool down completely before you even think about cleaning it.
Wipe away any loose crumbs or excess oil with a paper towel or soft cloth. For stubborn, stuck-on batter, try this: a few drops of cooking oil, let it sit for a minute to soften, then wipe it away. You can also make a paste of baking soda and water for a deeper clean.
Give the outside a wipe with a damp cloth, and if your waffle maker has removable plates, wash them in warm, soapy water. Just make sure they’re completely dry before you put them back.
And remember: never use anything sharp or metal to scrape off batter! You’ll ruin that non-stick surface faster than you can say “waffle.”
Clean your waffle maker after every use. It’ll prevent buildup and keep it working its waffle-making magic for years to come.
Finally, a quick safety reminder:
- Read all the instructions. Seriously.
- Hot surfaces are HOT. Use handles and knobs.
- Don’t dunk the cord in water!
- Keep an eye on the kids when they’re around.
- Unplug it when you’re done!
- Don’t use it outside.
- Flat, heat-resistant surfaces only!
So, there you have it. With a little practice, you’ll be cranking out perfect waffles like a pro. Now go forth and waffle! Experiment with different recipes, toppings, and enjoy the delicious results.

